
SHARE


Innovative and cost-effective home improvement ideas are all over the internet, especially when it comes to DIY projects that will add value to your home without emptying your checking account or maxing out your credit card.
If you want cheap-as-chips hacks to improve your home in a way that looks like you hired A-list TV renovators, you’ll need to use your resources, carefully plan for every penny, and prevent yourself from going overboard. You got this!
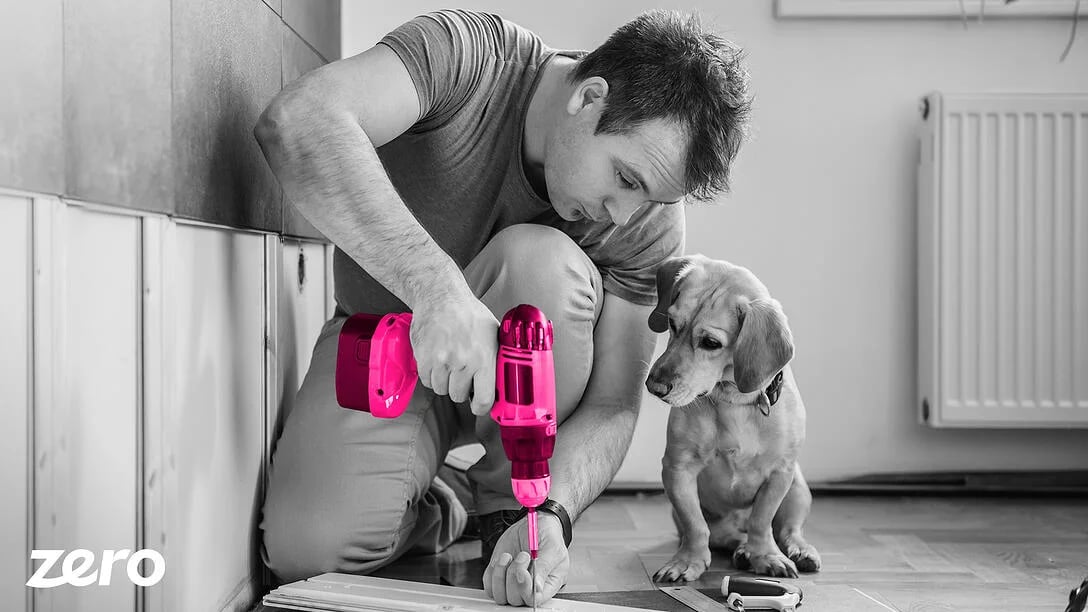
Here are some DIY home projects that are easy enough to complete over the weekend and on a budget. Best of all, each one has the potential to improve or enhance homeowner, visitor, and potential purchaser impression, whether you’re thinking about selling soon or you’re planning to stay for years to come.
1. The Front Door Restore
Looking for instant curb appeal improvement? You can get started by reviving your front door. Just about everyone who visits your home will enter your house through the front door, and as the years go by, your front door might sustain natural damage caused by sunlight and weather.
Over time, a hardwood front door can start looking shabby, tired, and weathered. Choosing a bright color for your front door can add a pop of personality while serving as a welcoming statement for guests and family members.
Cost: You’ll need tools like painter’s tape to cover existing hardware, a paintbrush, drop cloths, rags, and sanding blocks. You’ll also need an outdoor or exterior-grade paint, primer, a paint bucket, and a stir stick. A front door refresh should only cost you between $50 and $100, depending on which tools and materials you already own.
2. The Fireplace Facelift
Fireplaces do not have to be traditional. Even when your fireplace is not in use, it is a focal point of the room. Adding a mantel, replacing old brick with a minimalistic surround, or overlaying a basic builder with reclaimed barn wood planks can add a contemporary, modern, or farmhouse aesthetic to an otherwise drab fixture.
Cost: Costs will vary depending on the size of your project and the materials that you’ll need to purchase. Basic mantels can be purchased for under $100 both online and in stores. Barnwood wall paneling can be purchased for anywhere from $5 to $9 per square foot through Wayfair. Reclaimed barn wood planks can be found on Amazon, at Home Depot, or at Lowe’s.
3. The Interior Wall Repaint
Paint can change a room drastically, making it appear brighter, larger, smaller, or cozier. Many people say that changing the paint colors in a home will change the entire mood of the room. Accent walls and ceilings can highlight features in a room, like a window or a skylight, all while adding a pop of color. You can even make a room feel shorter or longer depending on the color you select for the walls!
Cost: Painting a room yourself will cost you anywhere from $100 to $300 depending on the room supplies that you need to buy and the size of the room. If you hire a professional painter, you will likely spend at least twice as much on the project, but on the bright side, you will not have to be concerned about doing the job yourself, so it’s a reasonable trade-off.
4. The Shiplap Accent Wall
Shiplap is a popular building material made famous by renovation reality shows. Historically, it was used as siding for barns and sheds. In the last decade, installing it as part of the interior of a house has become very popular, sparking debate among DIYers as to whether shiplap is timeless or trendy.
Installing shiplap in a horizontal manner as part of the interior of a room can move the eye horizontally around the space, making the room feel larger. Installing it vertically emphasizes the height of the room, making the room feel taller and bigger than it really is.
Cost: Also known as engineered wood wall paneling or medium-density fiberboard, shiplap can be purchased at any home improvement store as well as online through Wayfair. Costs will vary depending on where you purchase the shiplap from, but it will almost always be more expensive than drywall no matter where you buy it.
5. Updated Kitchen or Bathroom Backsplash
Adding texture to a kitchen or bathroom is a sure way to make it pop, even if you’re working with a monochromatic theme. Tile backsplash can upgrade any and all kitchens and bathrooms. Unfortunately, peel-and-stick wallpaper is often viewed as being inferior to tile backsplash.
However, if it’s installed correctly, it may be difficult to tell the difference. No special skills are required to install backsplash, and there is no demolition, dry time, or clean-up required. Today’s peel-and-stick backsplash options are leaps and bounds better than these materials when they were first created a few decades earlier.
Cost: Plan to spend between $6 and $25 per square foot. In most cases, you can easily install it yourself, so it’s likely that you won’t have to spend money on professional services in addition to purchasing the peel-and-stick wallpaper.
6. Peel-and-Stick Wallpaper
Just like you can use peel-and-stick wallpaper for bathroom or kitchen backsplashes, you can also use peel-and-stick wallpaper for entire walls! The verdict is in, and it says that wallpaper is definitely back in style. For DIY home improvement fans, peel-and-stick wallpaper is perfect for both short- and long-term purposes. For instance, self-adhesive vinyl wallpapers are easy to install and remove.
Cost: The costs of peel-and-stick wallpaper will fully depend on the amount of paper you need, meaning smaller accent walls will be more budget-friendly than the cost to cover the walls in a large room. An 8 x 12 wall will cost $432 to fully cover if you purchase your peel-and-stick wallpaper from Wallblush.
7. Foam Crown Moulding
Instantly upgrade your living room and bedrooms with crown moulding, which can both enhance the visual appeal of a room and hide all imperfections, cracks, or blemishes in ceilings. You can install beautiful flat-back crown molding without having to use miter saws or nails, too.
Cost: Plain recycled polystyrene crown molding starts at about $60 per package. You’ll need to purchase corner and transition pieces as well, though the number of them will depend on the size and the layout of your room.
8. The Bathroom Caulk Refresh
Caulk is king! In just a short period of time and for very low costs, you can improve the visual appearance of your bathroom, prevent mold from growing, minimize the likelihood of mildew growth, and make your bathroom look newer and cleaner all at once!
Caulk is the material used for the sake of sealing seams in your bathroom. Plus, it is easy to install. Start by removing the old caulk first. You can do this with a razor blade. From there, apply the new caulk with a caulking gun. If it’s your first time working with caulk, take a moment to review best practices on YouTube before making any changes.
Cost: Caulking is inexpensive. You can purchase an inexpensive caulk gun for about $5 as well as white acrylic latex caulk for less than $3 per tube.
Our Mortgage Learning Center features blogs on a wide range of mortgage and refinancing topics.
Staying Within Budget Requires Planning and Self-Control
Remember that DIY home improvement projects can be budget-friendly, but most of the magic is in the cost calculations and budgeting efforts you utilize. It is so easy for even the most well-intentioned renovator to get out of control on a Saturday morning at the local home improvement store, especially with a credit card in their pocket.
If you want or need to stick to a budget, walk into the store knowing how much you’ll spend, and hold yourself to your promise to stick to your budget. This may require you to plan a reconnaissance mission, use tools that you already have, or ask to borrow tools from parents, friends, and neighbors. You can stretch your dollars even more if you are flexible when it comes to colors, styles, and the ultimate aesthetic of your renovations.
Looking to Refinance?
This page last updated: October 26, 2022
Read more on this topic below.

When you buy a house and start making mortgage payments, your payment consists of four different components, known...

People buy their homes for a number of reasons. Affordability, stability, and comfort are some of the most...

Some homebuyers refuse to purchase a property if it is part of a property owner association. On the...

Research indicates that 58% of homeowners in HOA communities and single-family homes pay an average monthly fee...

Private mortgage insurance is something millions of homeowners pay for each year. However, this type of insurance does not protect

A mortgage is often the largest monthly expense homeowners pay. The thought of reducing the amount...

A home doesn’t just fall into foreclosure status. There are stages and processes that take place behind the scenes before...

Refinancing your home can save you thousands of dollars per year! When you extrapolate that savings over...

If you’re looking to buy a house, and do not have a mountain of cash saved up, you’ll need to consider getting a mortgage to help you finance this...
Buying a home? You’ll likely need to get it appraised before you receive the clear to close. If you’re wondering...